My Stamp Club met last week and we made some fun cards. You can sure tell it's summer time though - I had a really low attendance this month. But we had a good time anyway! Now I'm patiently waiting for some new products to arrive via Mr. UPS!!
Here are the cards we made using some new products and some that have been gathering dust on my shelf!
Supplies:
Ø Ink: Grapefruit
Groove, Smoky Slate, Blueberry Bushel, Granny Apple Green
Ø Cardstock: Very
Vanilla Thick CS
Ø Stamps: Jar of Love
Ø
Framelits – Everyday Jars
Instructions:
Ø
Stamp background jars with Smoky Slate.
Ø
Stamp the string around the jars
w/Grapefruit Groove
Ø
Stamp 1 jar in Whisper White and die
cut.
Ø
Stamp a bow w/Grapefruit Groove and die
cut.
Ø
Stamp about 5 stems of leaves w/Granny
Apple Green & die cut.
Ø
Adhere leaves to card with glue.
Ø
Stamp sentiment on Jar in Blueberry
Bushel ink.
Ø
Use dimensionals to adhere Blueberry
Bushel Jar to card.
Ø
Adhere bow to jar.
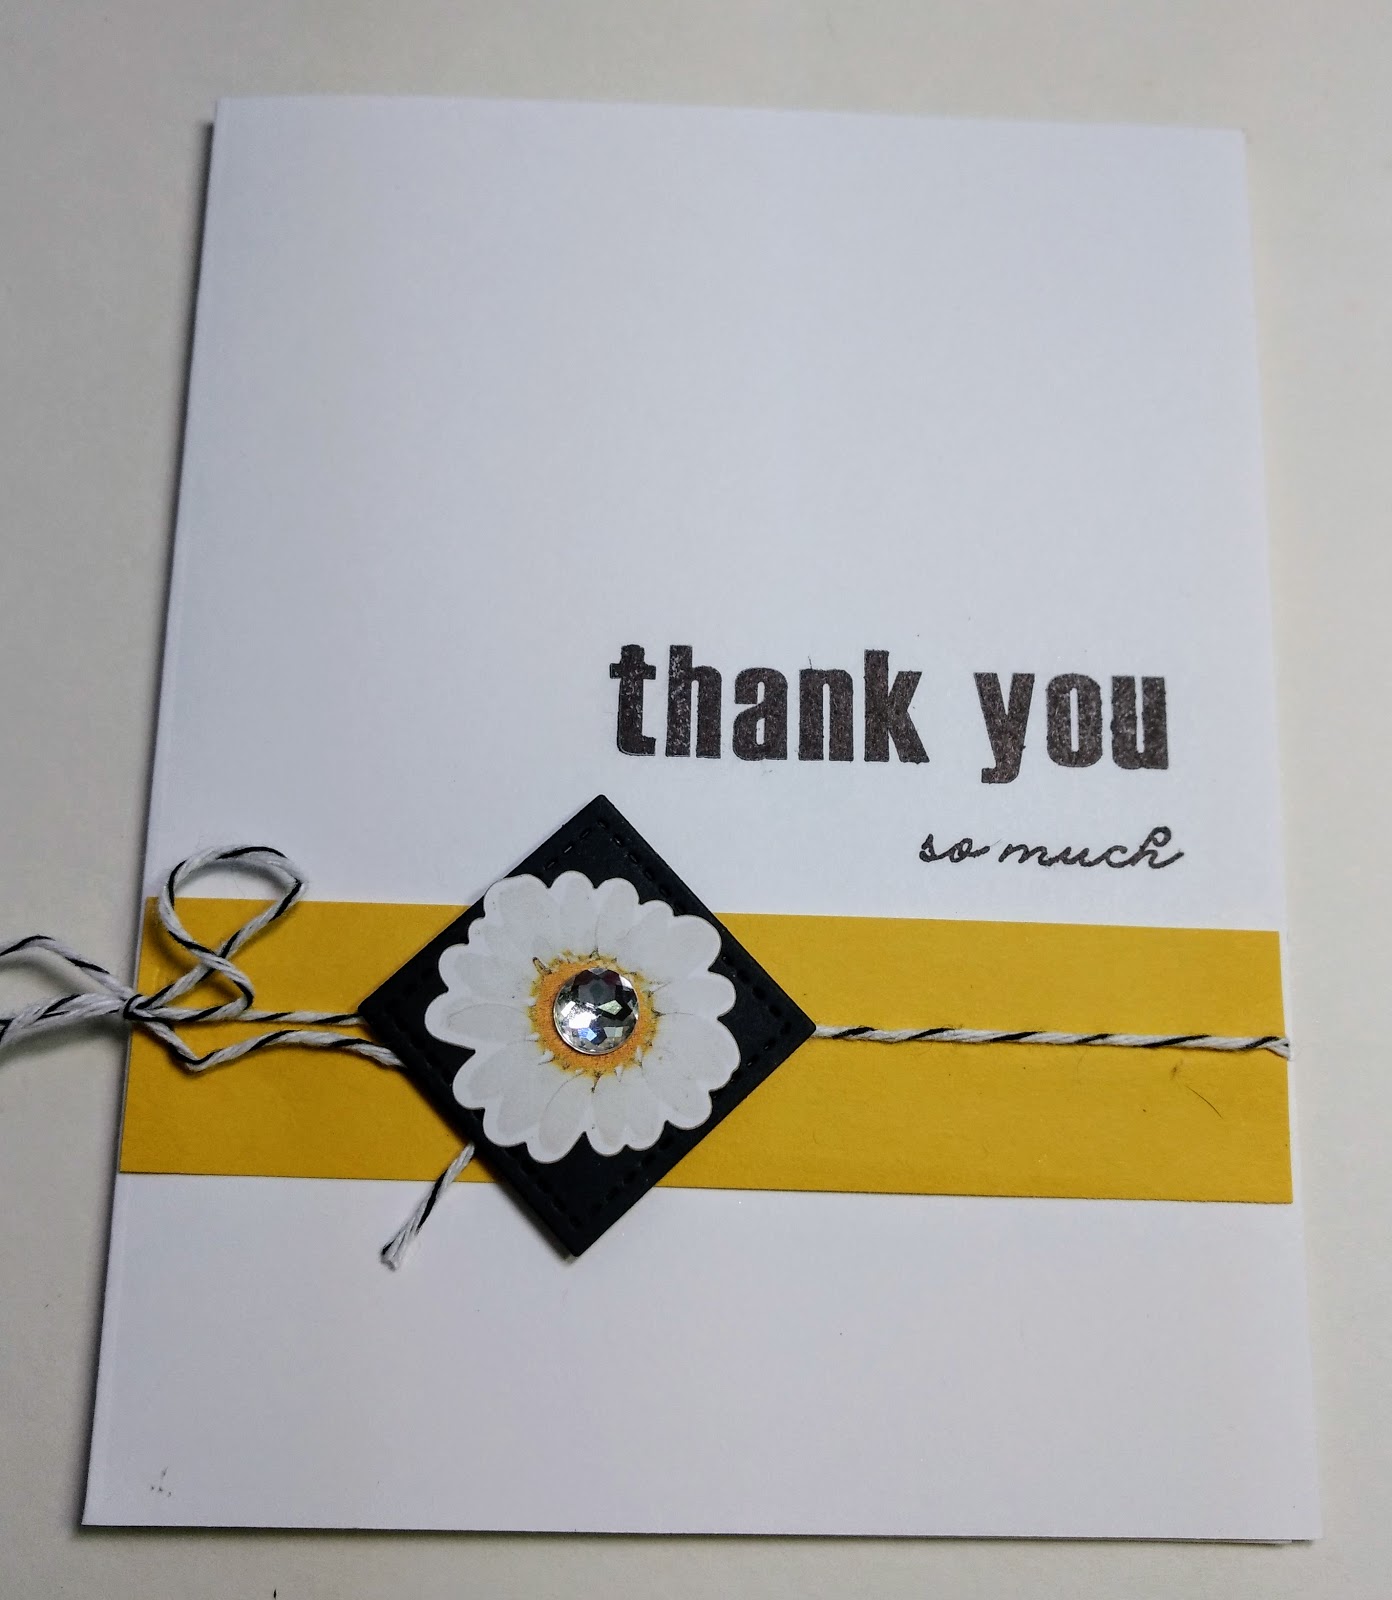
Supplies:
Ø Ink:
Blueberry Bushel, Highland Heather, Flirty Flamingo, Black, Granny Apple
Green
Ø Cardstock: Thick CS, Whisper White, Daisy DSP (retired)
Ø
Stamps: Love What You Do
White Twine &
Dimensionals
Instructions:
Ø
Cut 3
panels at 3” x 4 1/8” & 3 panels at 3 ¼” x 4 3/8”
Ø
Stamp
the flowers on the 3 smaller panels.
Ø
Stamp
“thank” on the bottom of one panel; Stamp “you” on the bottom of one panel in
black.
Ø
Tie
white twine around 3rd panel (that you did not stamp on bottom)
Ø
Mat the
3 panels onto the larger 3 panels with dimensionals.
Ø
Adhere
strip of DSP in center of white card.
Ø
Adhere panels
to card.
I love, love, love this stamp set!!
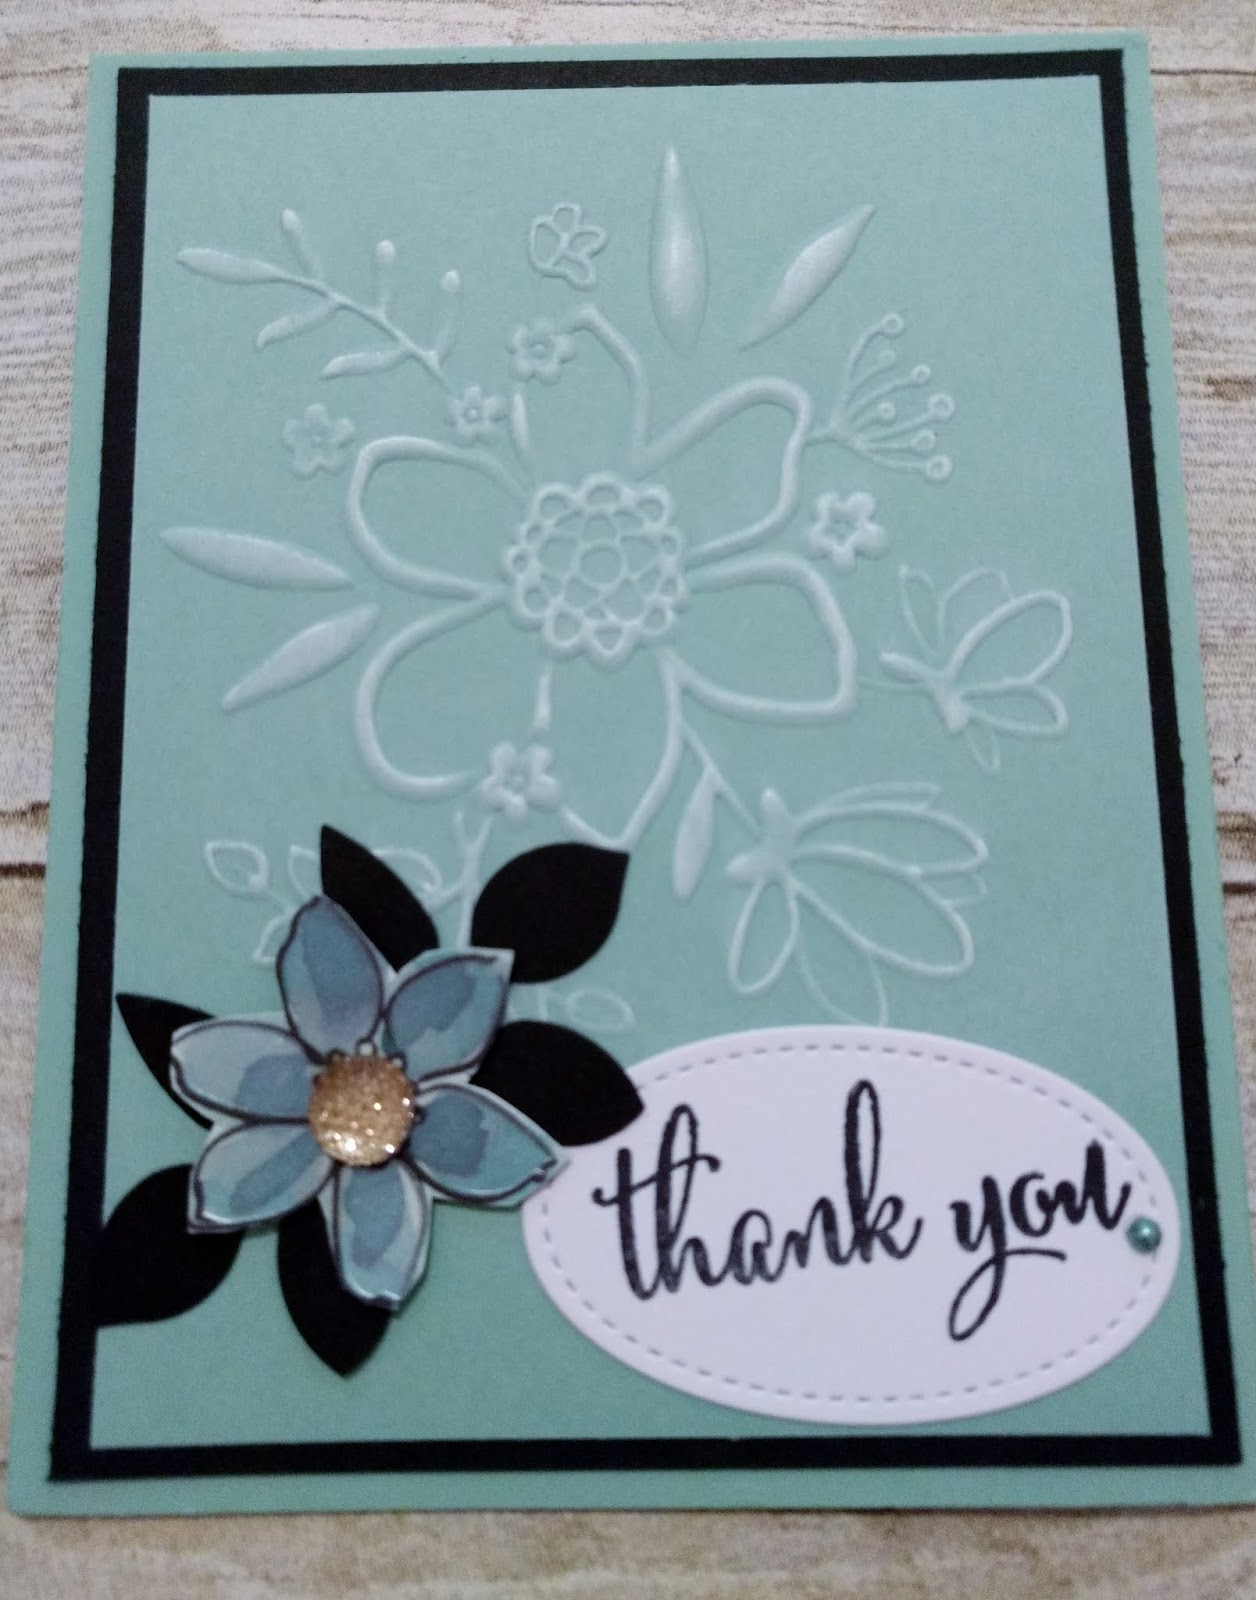
Supplies:
Ø Ink: Black, Whisper White
Ø Cardstock: Thick CS, Rich Raspberry, Basic Black
Ø Stamps:
Serene Garden, Sheltering Tree (sentiment)
Ø Framelits –Garden Scene Framelits
Ø Subtle Embossing Folder
Ø Stampin’ Blends
Instructions:
Ø
Emboss flower (framelit) in bottom
corner of Thick card; fold in half
Ø
Stamp image onto White CS (using Stamparatus).
Ø
Stamp & Die Cut single flower and
butterfly.
Ø
Use Stampin’ Blends to color all
images.
Ø
Stamp sentiment onto Rich Razzleberry
strip of cardstock with White Ink (Use Embossing Buddy FIRST)
Ø
Emboss sentiment and cut flag at end.
Ø
Emboss sentiment w/the new Subtle
Embossing Folder.
Ø
Adhere butterfly, single flower &
sentiment with dimensionals. Layer onto black cardstock & then onto card.
We had trouble getting the sun out of the framelit without tearing it up. I suggest when you use these framelits, you sandwich a piece of wax paper between the cardstock and the framelit.
Supplies:
Ø Ink:
Pineapple Punch, Blueberry Bushel, Lovely Lipstick, Pool Party
Ø Cardstock: Soft Sea Foam, Blueberry Bushel, Whisper
White, Pineapple Punch
Ø Stamps:
Swirly Bird, You Are My Anchor (April Paper Pumpkin)
Ø
Swirly Scribbles Thinlets, Duet Banner Punch,
Seaside Embossing Folder
Instructions:
Ø
Die cut
swirly sun
Ø
Stamp
swirl from middle of die cut swirly piece (sun) with Pineapple Punch (or for
darker image, use Daffodil)
Ø
Emboss
Soft Sea Foam panel with Seaside Embossing Folder & adhere to Sea Foam card
Ø
Adhere
“wave” & sun to card.
Ø
On
scrap white paper, stamp sailboat – cut out.
Adhere w/dimensionals.
Ø
On
scrap white paper, stamp sentiment & use Duet Banner Punch. Adhere with dimensionals.