Showing posts with label Stamp Club. Show all posts

Sunday, January 22, 2017

Stamp Club January Calendar

I think I should leave a sticky note at the top of my blog saying "sorry - I've been busy."  I have been snowed under (not really snow) and neglected posting to my blog on a regular basis.  I am the photographer for the Newcomers group which means I take pictures all year of events going on and at the end of the year, I put together a memory book for our president.  Well, I've been busy trying to finish up the book.  I finally finished yesterday and sent it to the printer.  Now, hoping it will be back in time to present it at our next meeting but I have my doubts. 

Last week was Stamp Club.  I am doing something a little different this year.  One of the gals from my Club (and my neighbor) gave me a calendar in a shadowbox frame for Christmas.  She bought the frame at Hobby Lobby.  I just love it!


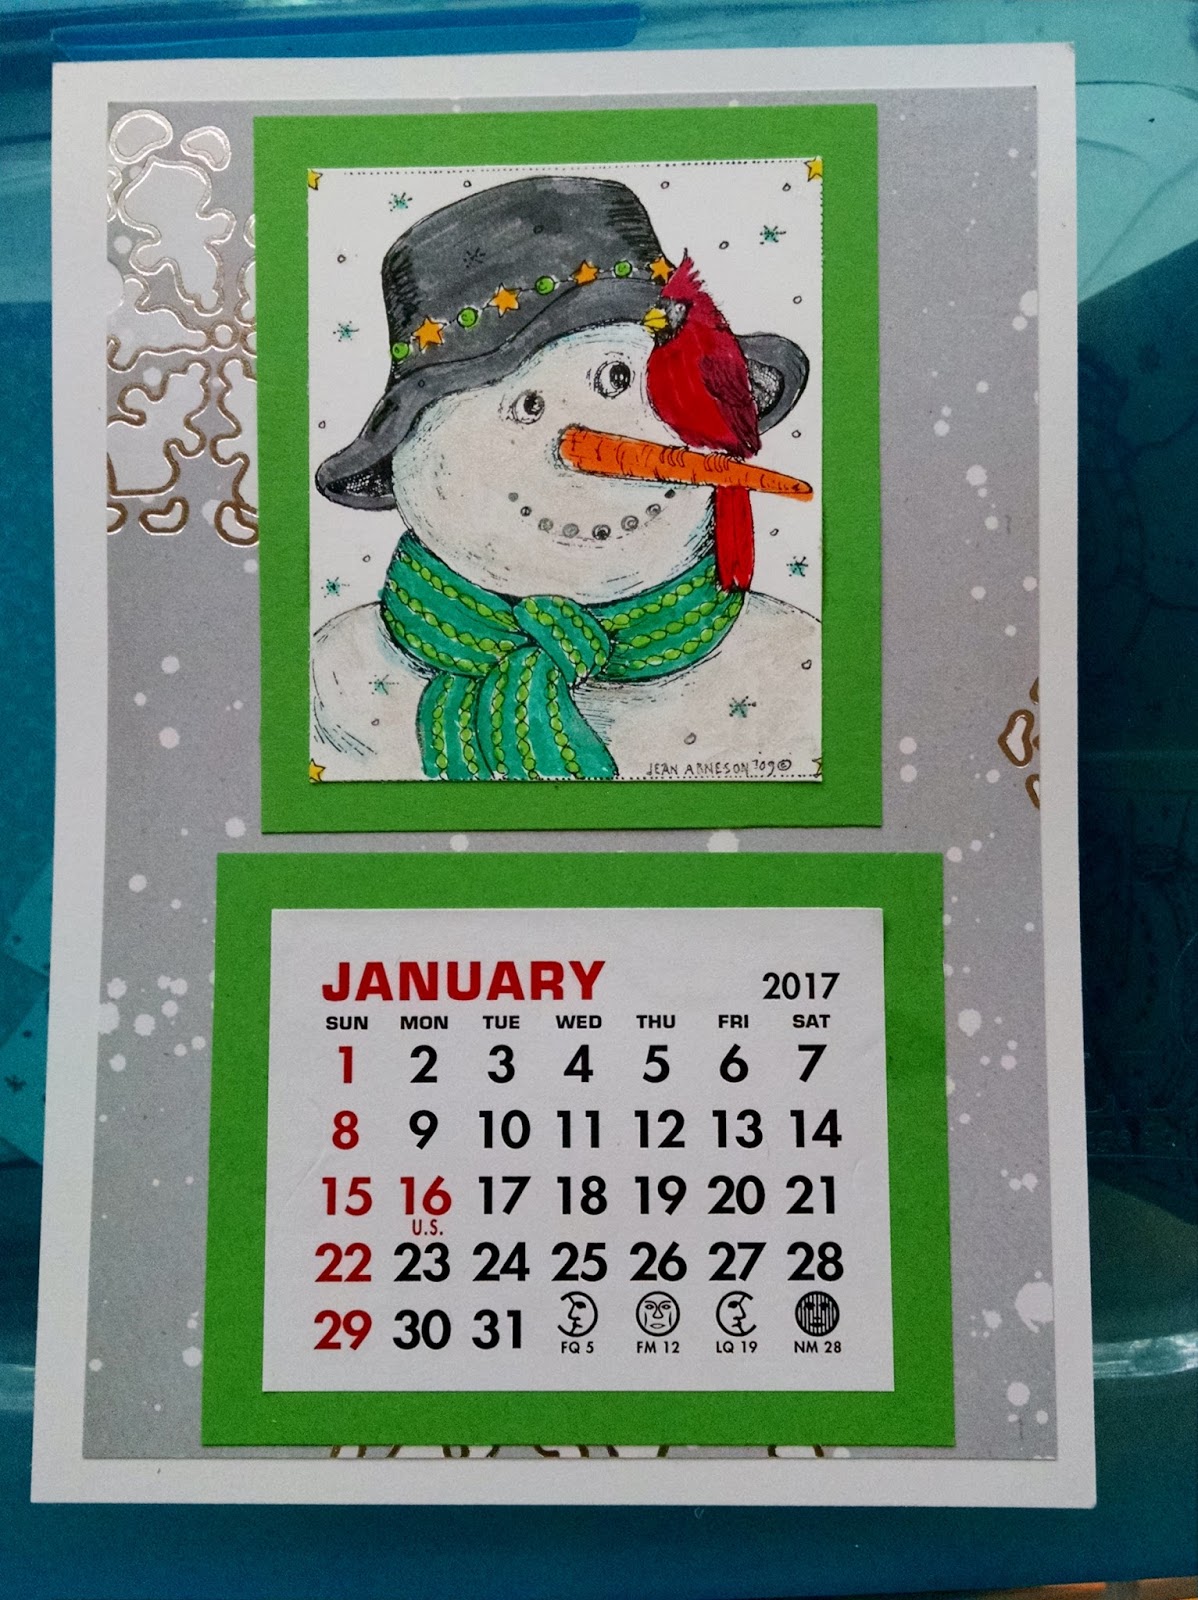
So I decided that each month in Stamp Club, we would do a calendar page.  The gals can use the calendar this year and at the end of the year, they can just add the 2018 months and give it away as a gift to a friend.  This is the page we did this month.  The snowman is not Stampin' Up.  Believe it or not, I do not have a Stampin' Up snowman!!  Everyone had a different background snowflake piece of DSP.  We framed the snowman and calendar with Emerald Envy card stock.


Speaking of calendars, this is one Marianne gave me for Christmas.  It is hard to see in the picture, but she used glitter on the ground beneath the Lovely As A Trees.  It is so sparkly!!


Don't forget about Sale-A-Bration.  If you have been thinking about subscribing to Paper Pumpkin, now is the time.  Not only is the price reduced, but with a 3 month subscription, you will get a FREE item!! 

3-Month Prepaid Subscription (137859) $59 $55 USD/$79 $74 CAD Save on a
3-month prepaid subscription and instantly qualify for a FREE Sale-A-Bration item!
12-Month Prepaid Subscription (137861) $215 USD/$295 CAD Take it to the next level with a 12-month prepaid subscription. Save over $2/month with the everyday awesome price, earn Stampin’ Rewards, and get 4 FREE Sale-A-Bration items!

I'll be at Buffalo Wild Wings later today cheering on the Steelers.  If they win today, we are Super Bowl bound!  Unfortunately, our opponent is the New England Patriots.  I am a little nervous!  We are definitely the underdog in this race.


Wednesday, November 16, 2016

Lovely As A Tree

This was Stamp Club week and I was taking requests - for a sympathy card, note cards and the technique using the Woodlands embossing folder.  Unfortunately, 2 of the gals who made the requests were unable to make it this week!!  Oh well, such is life.  This is such a busy time of year.

This sympathy card was so easy to make but was a big hit with everyone.  It uses everyone's favorite stamp set, Lovely As A Tree.  The sympathy sentiment is from Teeny Tiny Wishes.  First I stamped the trees on Smoky Slate with Basic Gray ink and punched out a hole using the 1 1/4" Circle Punch.  Stamp the tree on a scrap of Soft Saffron and line up the trees on the scrap behind the trees on the Smoky Slate piece.  Trim the scrap of Saffron so it doesn't peek out at the top, bottom or sides.  Mat the whole thing on a piece of Soft Saffron.  It gives the illusion that you have stamped those trees on the large piece of Saffron.  

The next card uses the Woodland embossing folder.  I rubbed Soft Sky ink all over the embossing folder (on the side that has "Sizzix" in the top corner).  Next I stamped the trees (Lovely As A Tree) with Chocolate Chip ink directly on the embossing folder.  I used a Q Tip to go over the birch trees and removed some of the ink off of them.  Next I inserted a piece of white card stock in the folder and ran it through theb Shot.  If you want your trees whiter, you can use a dauber and rub some White ink over them.  Use the Chocolate Chip marker to make the marks on the birch tree.  The sentiment on my card is from a previous Paper Pumpkin kit.

We also made a Note Card Portfolio with note cards and envelopes.  I'll be sharing those later.

Tuesday, October 18, 2016

October Stamp Club Cards

For this month's Stamp Club card, I concentrated on fall and the holidays. 

If you would like to order any of the items to make these cards, please order online using my October code: 6G7GE4YW   Your order will be mailed directly to you.  You can also check out the Clearance items and include them with your order.

I used the following stamps for this card: Cookie Cutter Halloween; Goulish Grunge; Happy Scenes; Timeless Textures
l  Stamp the Brick Wall (from Ghoulish Grunge) on the white card with Smoky Slate ink.  Use the little splatter stamp (Timeless Textures) and stamp with Pumpkin Pie ink. 
l  Stamp Spider Web in corner with black ink.  
  Next the trick was to find a spider!  Finally found one on a retired set from last year, Happy Scenes.  Probably just as easy to use a marker and draw him in! 
The 3 black squares are 1 3/4" each. The Pumpkin Pie, Pear Pizazz & Wisteria Wonder square were die cut with the Squares Thinlits.
l  Next stamp creatures onto white paper & punch out w/Cookie Cutter Punch; color and adhere to the black squares.  Stamp the sentiment (again, I used a retired set called And Many More.


 The Ugly Christmas Sweater card was a big hit!  I had others to choose from but everyone picked the Christmas one.   If you Google Cable Knit Sweater Card, you will find a bunch of different sweaters with instructions.  It's really pretty simple.  Run your card stock through the Big Shot using the Cable Knit Embossing Folder.  This is a really thick folder and I found it helpful to mist the card stock with a little water before embossing.  For the white shirt underneath, this is the white card base.  I used the Circle Thinlits (or a 2" Circle Punch) to punch a circle.  The ribbing is made using a Crimper but if you do not have one of those, you can use your Score Board and score on every line.  This is a fun card to play with and come up with lots of different ideas as I did below.


 The next card uses the beautiful Petals and Paisleys!  I love the DSP, the stamp set and the framelits!  Here are my directions:


Emboss the Rich Razzleberry card stock with the Petal Burst embossing folder.
Adhere DSP to top of Razzleberry card stock.
Tie knot in Mint Macaron ribbon and adhere around Razzleberry card.
Adhere Razzleberry card to Night of Navy card.
Stamp sentiment onto Vanilla card stock and cut out.  Matte onto Night of Navy and adhere to Razzleberry card stock.
Stamp scallop circles in different colored inks; die cut with Paisley thinlits; adhere them together with dimensionals.  Adhere Candy Dot to center.
Die cut large Paisley from Copper paper and the floral pieces from Mint Macaron and Night of Navy; arrange all onto card.


 Next is the cute little scarecrow from Cookie Cutter Halloween.


Use a sponge or dauber & sponge So Saffron on bottom of white card
Sponge Soft Sky on top (use a cloud template)
Stamp wheat from Wetlands w/Delightful Dijon on bottom of card.
On scrap white, stamp Scarecrow & color.  Use Cookie Cutter Punch & punch out.
Stamp sentiment w/Dijon ink.